
How To Make Your Own Computer Hull
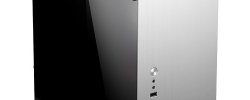
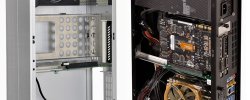
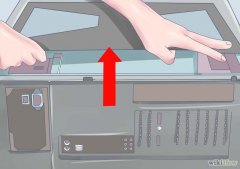 Open the computer. Take off both side panels of the hull to get free access to the maternity rack. The maternity fee can be removed from the hull, so you can easily establish it without the need to work in an uncomfortable position. Not all the bodies have a retrieved maternity pay panel.
- Panel is usually attached to two chatters. Get your chatter aside so you don't lose.
- Installation of maternity fees usually involves a complete new computer. If you improve your computer, you'll have to redesign the operating system and redesign the system disks. You can't just set up a new maternity fee without interrupting everything on your computer.
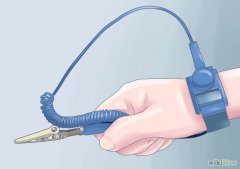
- To prevent damage to computer equipment, wear an antistatic bracelet.
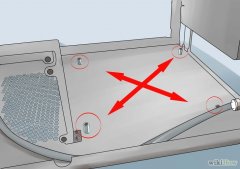
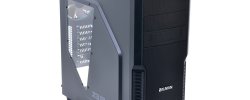
- Press all four corners of the panel to secure it in the hull. She's got to lock herself up.
- Make sure you put the panel on the right side. Compar it to the location of the divorces on the mother ' s dress to ensure that the installation is correct.
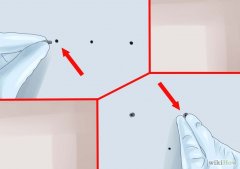
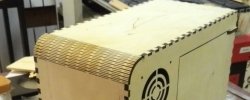
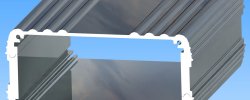
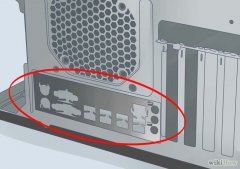
 Find the bars. Waiters don't let the mother pay touch the body. They prevent the laying of the mother ' s fee and help in her cooling. Some hulls are sold along with the counters and some are not. The kit with your mother's fee should be her own desks that you can set.
- Most of the stacks are stuck in their holes, but some are just plugs.
- Not all maternity charges can be fixed for all their openings. Set as many as you can, but never set more than necessary. The stops shall be fixed in places with the corresponding openings on the maternal fee.
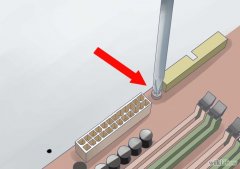
 Start fixing your mother's fee with your bolts.
- Don't twist the chatter. Put it tight, but not too tight. Don't fix the mother's fee for the electrical screwdriver.
- Openings that do not have a metal part shall be covered by cardboard stitches to separate chatter from the maternal fee. It's best not to use non-metallic holes at all.
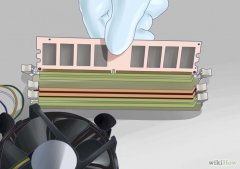
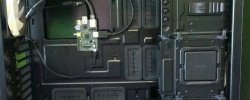
Set the kits. Before you insert a new-designed-pay panel, you need a processor, a processor and operational memory. Having done it now, you'll be able to get it all the time. If your mother's fee is not set in the retrievable panel, set up the kits after the wires are connected.
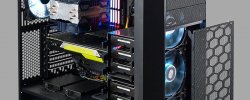
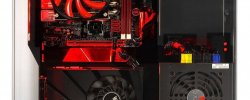
Connect the power supply. Once you've fixed your mother's fee, you can start connecting the various sets. It is recommended that the power be switched on first, because otherwise it would be more difficult for you to reach all the units. Make sure you hook up both 20/24-pine and 4/8-p 12V transvers.- If you're not sure what cable is to connect, make sure you have a feeding instruction.
- Catering switch
- Dropping button
- Nutrition indicator
- Hard drive load indicator (HDD)
- Speaker.
10
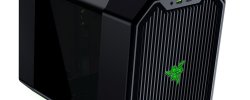
Connect the front USB-ports. Connect all USB-ports to appropriate contact on the maternal fee. Most of them will be marked. Make sure the disembarks are in good contact.